Boost Sales with DIY Product Photo Editing | Expert Clipping Path Services
DIY Product Photo Editing Tips for E-Commerce Sellers
“A picture is worth a thousand words.” – Napoleon Bonaparte
When it comes to online shopping, high quality images make or break a sale. Yet how do you differentiate yourself in a crowded e-commerce market without spending a million dollars? The answer: DIY product photo editing! If you know the right tips and tools, your product photos can become stunning visuals that will intrigue your customers and help you boost your conversions. If you’re a beginner or just want to improve your photo editing skills, these DIY photo editing tips will enable you to showcase your products in the best light. Let’s dive in!
Introduction: The Power of DIY Editing
Great visuals in the e-commerce world can mean a huge difference when competition is fierce and attention spans are short. Think about it: The first thing a shopper sees when they land on your product page is your image. They might scroll past without a second thought if it’s blurry or otherwise poorly lit. A high quality, well edited photo can engage them and make them buy. And the best part? To get professional looking photos, you don’t have to hire an expensive photographer. You can do it all yourself with DIY product photo editing tips.
Why Product Photography Matters
Building Trust with Visuals
The closest your customers can get to actually examining your product is a picture of it. Some images can be well lit, clear, and convey professionalism and trustworthiness, and others can be poorly edited, and customers can question your credibility.
Impact on Conversions
Product images are shown to directly affect conversion rates. In fact, we know that high quality images can increase sales by up to 30%! Thus, spend time and effort editing your photos and you will receive great results in the long run.
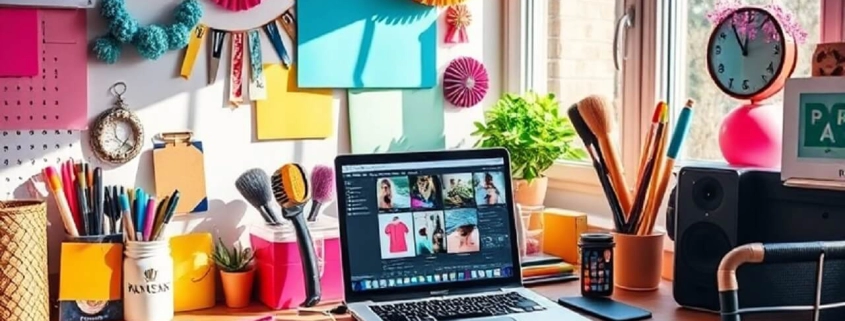
Essential Tools for DIY Photo Editing
Software Options
You don’t need to be a professional designer to create stunning product images. Here are a few tools to get you started:
- Adobe Photoshop: The industry standard, offering powerful editing features (though it requires a subscription).
- GIMP: A free alternative to Photoshop, offering many of the same features.
- Canva: User-friendly and great for beginners, perfect for quick edits and simple designs.
Free vs. Paid Tools
While paid tools like Photoshop offer advanced features, free options like GIMP and Canva provide robust editing capabilities at no cost. The key is to choose the one that best fits your needs and skill level.
Step-by-Step DIY Editing Process
Preparing Your Image
First, you want to make sure your images are organized. Back up your work to prevent you from losing your work and keep your original files safe. Your camera images should be well lit and in focus.
Basic Adjustments
Start with simple adjustments:
- Cropping: Cut away background or distractions that don’t add value.
- Brightness and Contrast: Make these adjustments to make the product more stand out.
- Sharpness: Make your product look crisp and clear.
Advanced Enhancements
Once the basics are covered, dive into more advanced edits:
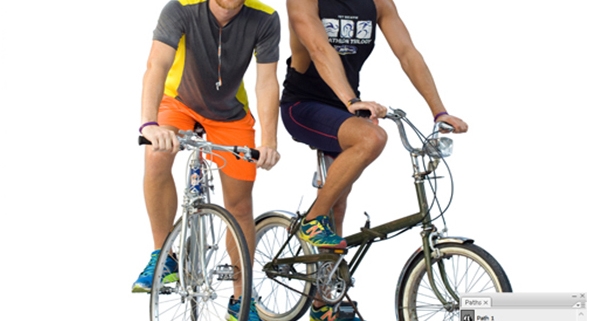
- Background Removal: It draws attention to your product.
- Color Correction: Make sure the true colors of the product are shown.
- Retouching: Remove dust or scratches on the product.
Optimizing for E-Commerce
Image Compression and Quality
But high quality images are important, and must be optimized for web use. With image compression, you are reducing file size without compromising on the quality, which means faster loading times of your product page.
Mobile Optimization
As more people shop on mobile devices, it’s more important than ever that your product images look good on smaller screens. Test your images on mobile before publishing them.
Tips for Consistency Across Product Photos
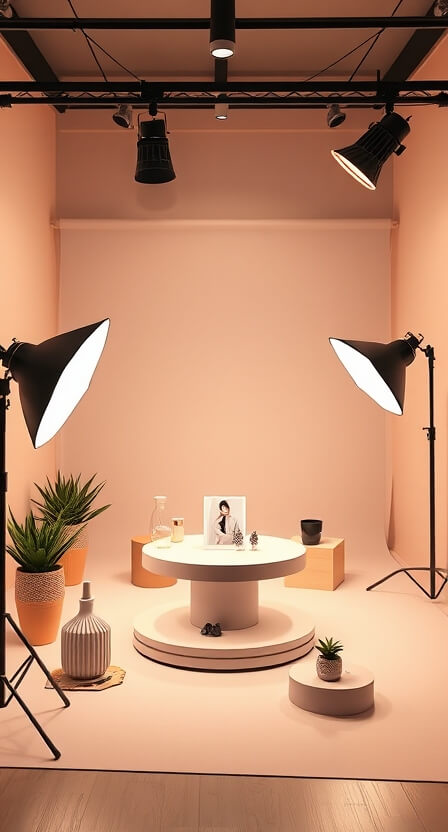
Lighting and Background Uniformity
Consistency is the key to selling your products. All photos are to be kept consistent with lighting. Just like with all product shots, use the same background colour for all of them for a cohesive online store.
Consistent Editing Style
Once you have a style for editing your product images (bright, minimalist or vibrant) stick to it in all product images to reinforce your brand.
Common Mistakes to Avoid
- Over-editing: It’s tempting to apply filters galore, but don’t overdo it. Your product should still look real.
- Ignoring Image Size and Quality: Images in low resolutions can ruin your brand’s credibility. Upload high quality, well optimized photos every time.
- Neglecting Mobile Viewers: Images may look great on a desktop, but don’t forget to see how they will look on mobile devices.
Conclusion
The ability to DIY product photo editing is a valuable skill for every e-commerce seller to learn. With the right tools and techniques, you can put together eye catching images that will engage customers and get sales. No matter if you’re just starting or want to level up your skills, these tips will let you showcase your products in the best way, without having to work with professional photographers.
FAQs
- What is the best software for product photo editing?
- The industry leader is Adobe Photoshop but free tools like GIMP and Canva are great alternatives if you’re on a budget.
- How do I remove the background from my product photos?
- Easy background removal can be done with tools such as Photoshop’s Magic Wand or services like Canva’s Background Remover.
- How can I ensure my product images are mobile-friendly?
- Test your images on mobile devices always before publishing. File sizes need to be small and look good on small screens.
- What adjustments should I make first when editing product photos?
- Crop, adjust your brightness and contrast and sharpen your image to highlight product details.
- How can I make my product photos look more professional?
- Be sure to use the same lighting, backgrounds and editing techniques on all your product images.